
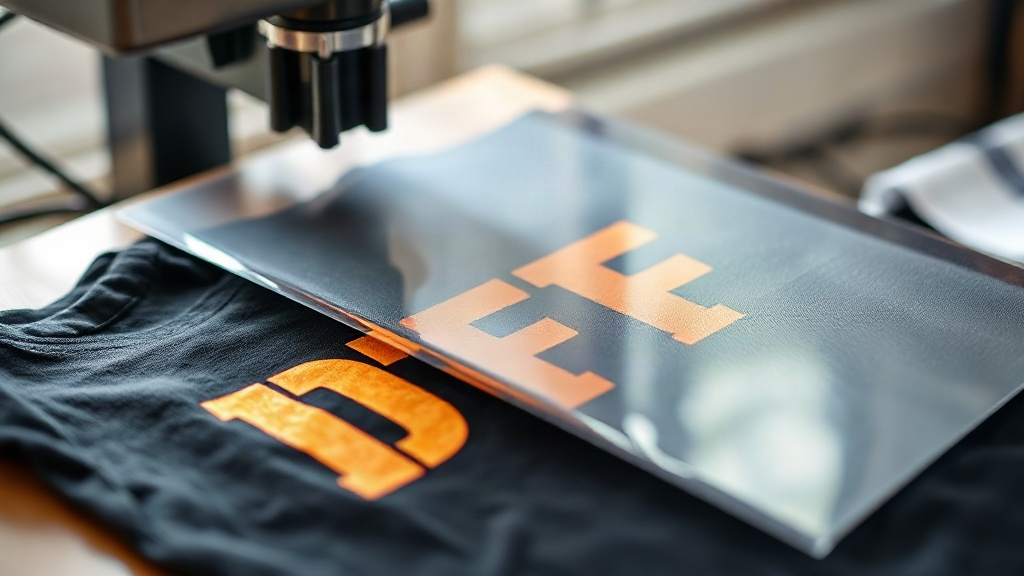
If you've been exploring custom apparel printing, you've likely heard about DTF Transfers. This method is quickly becoming a favorite among crafters and small business owners for its versatility and vibrant results. Unlike traditional screen printing or vinyl, DTF transfers allow you to print full-color designs on a wide range of fabrics with minimal setup. In this guide, I'll walk you through everything you need to know to get started, sharing insights from my own experience working with this technology.
What Are DTF Transfers?
DTF Transfers (Direct to Film) are a type of heat transfer that involves printing your design onto a special film, coating it with adhesive powder, and then pressing it onto your garment. The process begins with a digital printer that lays down CMYK and white inks onto a PET film. The white ink acts as a base, allowing the colors to pop on both light and dark fabrics. After printing, a thermoplastic polyurethane (TPU) powder is applied to the wet ink, which serves as the adhesive when heat-pressed. This method eliminates the need for weeding or cutting, making it incredibly efficient for intricate designs.
How DTF Transfers Differ from Other Methods
Compared to vinyl, DTF Transfers don't require weeding, which saves hours on complex artwork. Unlike screen printing, there's no need for separate screens per color, making short runs cost-effective. And unlike DTG (Direct to Garment), DTF works on a broader range of fabrics, including cotton, polyester, blends, and even leather. The result is a soft, stretchable print that holds up well to washing.
Why Choose DTF Transfers?
There are several compelling reasons to consider DTF Transfers for your next project:
- Versatility: Works on almost any fabric, including dark and light colors, without pre-treatment.
- Durability: The prints resist cracking, peeling, and fading when applied correctly.
- Detail: Fine lines, gradients, and photographs reproduce beautifully.
- Efficiency: No weeding or cutting means faster production, ideal for small businesses.
- Cost-effective: For small to medium quantities, DTF can be more affordable than screen printing.
In my own shop, switching to DTF Transfers cut production time by half for complex designs, allowing me to take on more orders without sacrificing quality.
Step-by-Step Guide to Applying DTF Transfers
Getting a perfect press is crucial. Here's how to do it right, based on my trial and error.
1. Prepare Your Workspace and Materials
You'll need a heat press, your DTF transfer, and the garment. Ensure the heat press is on a stable surface and preheated to the recommended temperature, usually around 300-325°F (150-160°C). I always keep a infrared thermometer handy to double-check.
2. Pre-Press the Garment
This step removes moisture and wrinkles. Press the garment for 5-10 seconds. Skipping this can lead to uneven adhesion.
3. Position the Transfer
Place the transfer with the printed side down onto the garment. Use heat-resistant tape if needed to keep it in place.
4. Press with Medium Pressure
Apply pressure for 10-15 seconds. Too little pressure and the design won't adhere; too much and the ink can spread. I learned this the hard way with a batch of shirts that peeled after one wash.
5. Peel the Film
Wait for the transfer to cool completely (cold peel) or peel while hot (hot peel), depending on the film type. Most DTF films today are cold peel, but always check the instructions.
6. Post-Press for Extra Durability
For added wash resistance, cover the design with a Teflon sheet or parchment paper and press again for 5-10 seconds. This step is optional but recommended for items that will be washed frequently.
Common Mistakes to Avoid with DTF Transfers
Even seasoned crafters make mistakes. Here are pitfalls I've encountered and how to steer clear:
- Insufficient pressure: Leads to poor adhesion. Use a pressure gauge if possible.
- Wrong temperature: Too hot and the film curls; too cold and the powder doesn't melt. Always follow the film manufacturer's guidelines.
- Peeling too early or too late: This can cause the design to lift or leave residue. Stick to the recommended peel method.
- Not storing transfers properly: Keep them in a cool, dry place away from direct sunlight to prevent the powder from absorbing moisture.
Tips for Vibrant and Long-Lasting Prints
To get the most out of your DTF Transfers, consider these expert tips:
- Use a high-quality DTF printer and inks. Cheap alternatives often lead to faded or cracked prints.
- Adjust your color profiles in the RIP software to match your printer's output.
- Test on a scrap piece of fabric before pressing the final garment.
- Wash garments inside out in cold water and avoid fabric softeners to extend the life of the print.
I've found that investing in a reliable heat press made the biggest difference in consistency.
Frequently Asked Questions About DTF Transfers
How long do DTF transfers last?
With proper application and care, DTF prints can last 50+ washes without significant fading or cracking. The key is following the pressing instructions and washing inside out.
Can I use DTF transfers on polyester?
Yes, DTF transfers work well on polyester and blends. However, lower temperatures (around 280-300°F) are recommended to prevent dye migration. Always test first.
Do I need a special printer for DTF transfers?
You can convert a standard inkjet printer to use DTF inks, but dedicated DTF printers are available and offer better reliability. If you're just starting, consider outsourcing your transfers to a professional service.
What is the difference between DTF and DTG?
DTG prints directly onto the garment, while DTF involves printing onto a film and then transferring. DTF works on more fabric types and often produces more vibrant colors on dark shirts.
How do I store unused DTF transfers?
Keep them in a sealed bag or container in a cool, dry place. Avoid humidity, which can cause the powder to clump. Properly stored transfers can last for months.