
Most small print shops don't adopt dtf transfers because of a trend. They adopt them because a customer walks in with six shirts, four different designs, and a deadline of Friday. Screen printing that order means burning screens for artwork that may never repeat. Vinyl means weeding tiny letters until your eyes hurt. Direct-to-film gives you a way to say yes to that order without losing the afternoon, and that is the real reason the process has spread so quickly through garages, mall kiosks, and one-press studios.
What follows is a working guide rather than a sales pitch. It covers how the film actually behaves, where your money goes, and the habits that separate shops that profit from dtf work from shops that quietly subsidize it.
How DTF Printing Actually Works, Step by Step
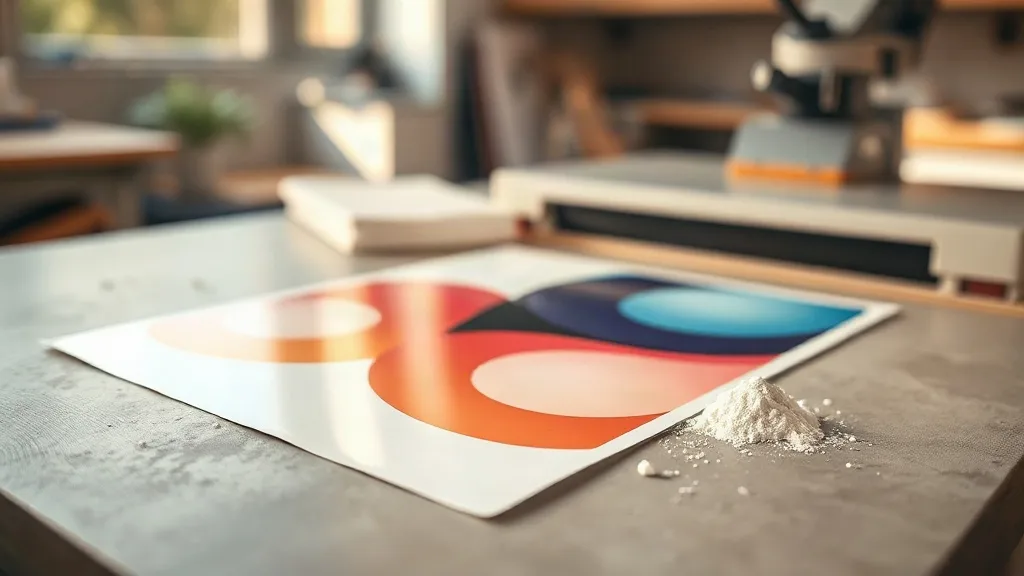
The process starts with a printer that lays down pigment ink onto a coated PET film. A white ink layer goes on top of the color layers, and that white is what makes the design opaque once it lands on fabric. The printed film then passes through a shaker unit that dusts it with hot-melt adhesive powder. Heat melts the powder into the wet ink, and the sheet dries. What you end up with is a flexible, slightly tacky transfer that can sit in a drawer for months.
Pressing is the simple part. You place the film on the garment with the printed side facing down, press at roughly 150 to 160 degrees Celsius for around 10 to 15 seconds, let it cool, and peel. A second short press under a protective sheet finishes the surface.
The Materials That Decide Your Quality
Three consumables control almost everything about the final result:
- Film. Cold-peel and hot-peel films behave differently. Cold peel generally holds finer detail and gives a matte finish, while hot peel speeds up production on simple shapes. Cheap film with uneven coating causes ink pooling and inconsistent powder adhesion.
- Powder. Fine powder suits detailed artwork; coarser powder gives a softer hand on large solid blocks but can look grainy on thin lines. Storing powder in a humid room is one of the fastest ways to ruin it.
- Ink and white layer. The white layer is the most expensive part of the print and the most common source of failure. Too thin and the colors look washed out on dark shirts; too thick and the transfer feels like a plastic patch.
Fabrics That Cooperate and Fabrics That Fight Back
Cotton and cotton blends are the easy territory. Polyester is where things get interesting, because high heat can cause dye migration, where the garment's own dye bleeds up through the transfer. A low-bleed white layer or a lower pressing temperature usually solves it. Nylon and treated water-resistant fabrics need testing before you promise anything, and coated or waterproof textiles often reject the adhesive entirely.
My rule after a few hundred orders: never quote a new fabric type without pressing one test piece and washing it. Twenty minutes of testing has saved me more money than any pricing spreadsheet.
Where the Money Actually Goes
Newcomers usually price DTF by counting the film and ink, then wonder why the month ends flat. The real cost structure looks more like this:
- Consumables per sheet. Film, ink, and powder together, calculated per printed sheet rather than per shirt.
- Nesting efficiency. A sheet with three small designs wastes less than a sheet with one large one. How you arrange artwork on the film changes your cost per unit more than any supplier discount.
- Labor. Printing, powdering, peeling, and pressing all take hands. Gang sheets help, but someone still has to trim and sort.
- Rework. Failed presses, crooked placements, and misjudged white layers. This is the silent margin killer.
A useful habit is to calculate a true cost per square centimeter of film, then price each job by the area it consumes plus a labor minimum. If a customer wants one small left-chest logo, the film cost is trivial but the handling time is not. Charging by area alone will lose you money on small orders.
Buying Transfers Instead of Printing Them
Not every shop needs a printer. If your volume is unpredictable, ordering pre-printed transfers from a supplier is often smarter than owning equipment that sits idle for weeks. This is where searches for dtf transfers near me usually come from: shops that want fast turnaround without a capital purchase. When evaluating a supplier, ask about film brand, powder type, and how they handle color accuracy on dark garments. Request a sample with fine text and a gradient, press it yourself, and wash it twice.
Mistakes That Show Up Again and Again
Most DTF problems are not mysterious. They cluster around a handful of habits.
Pressing Too Hot or Too Long
Higher temperature feels safer, so people push it. The result is a stiff, glossy patch, scorched polyester, or adhesive that bleeds past the design edge. Stick to the film manufacturer's range and adjust for fabric weight rather than guessing upward.
Peeling at the Wrong Moment
Cold-peel film peeled while still warm will stretch and distort fine lines. Hot-peel film left to cool can lock onto the carrier and tear. Know which film you bought and be consistent.
Ignoring Humidity and Storage
Powder clumps in damp air, film curls in dry heat, and printed sheets stored flat under pressure can transfer adhesive to the back of the sheet above. Keep powder sealed, store film in a cool dry place, and don't stack freshly powdered sheets before they are fully dry.
Skipping the Wash Test
Every new combination of film, powder, and fabric deserves one wash test. A transfer that looks perfect on the press can crack after three cycles if the powder didn't fully melt or the fabric was coated.
Making DTF Fit Your Workflow
The shops that do well with dtf transfers treat the process as a production line rather than a craft project. They batch artwork into gang sheets, keep a fixed pressing routine, and log which fabric and film combinations have passed testing. They also keep expectations honest with customers: DTF is durable and versatile, but it is not invisible, and on very stretchy or heavily textured fabrics it will always have a slight hand feel.
Start small. Print or order a modest batch, test on the fabrics you actually sell, and build your pricing from measured costs instead of guesses. The technology rewards discipline far more than it rewards enthusiasm, and a shop that understands its film, its powder, and its press will outperform one that simply owns newer equipment.
Frequently Asked Questions
How many washes do DTF transfers typically survive?
With correct pressing and a proper wash test, most quality transfers hold up through dozens of home laundry cycles. Longevity depends more on fabric type, powder quality, and wash temperature than on the transfer itself. Washing inside out in cold water and avoiding high dryer heat noticeably extends life.
Can I use DTF on dark polyester without dye migration?
Usually yes, but you need a low-bleed white layer and a pressing temperature at the lower end of the film's range. Test a scrap piece first, because some polyester dyes migrate even at moderate heat.
Is it cheaper to buy a DTF printer or order transfers?
It depends on consistent volume. Below a few hundred prints a month, ordering pre-printed transfers usually wins once you account for maintenance, ink waste, and idle time. Above that threshold, owning a printer starts to make financial sense.
Why does my transfer feel stiff after pressing?
Stiffness usually comes from too much white ink, excessive pressure, or pressing too hot for too long. Reducing the white layer thickness and staying within the recommended temperature range softens the hand considerably.
What should I check before choosing a local transfer supplier?
Ask for a sample with fine text and gradients, confirm the film and powder brands, and press the sample on your own garments before committing to a bulk order. A supplier who cannot answer basic material questions is a risk worth avoiding.