
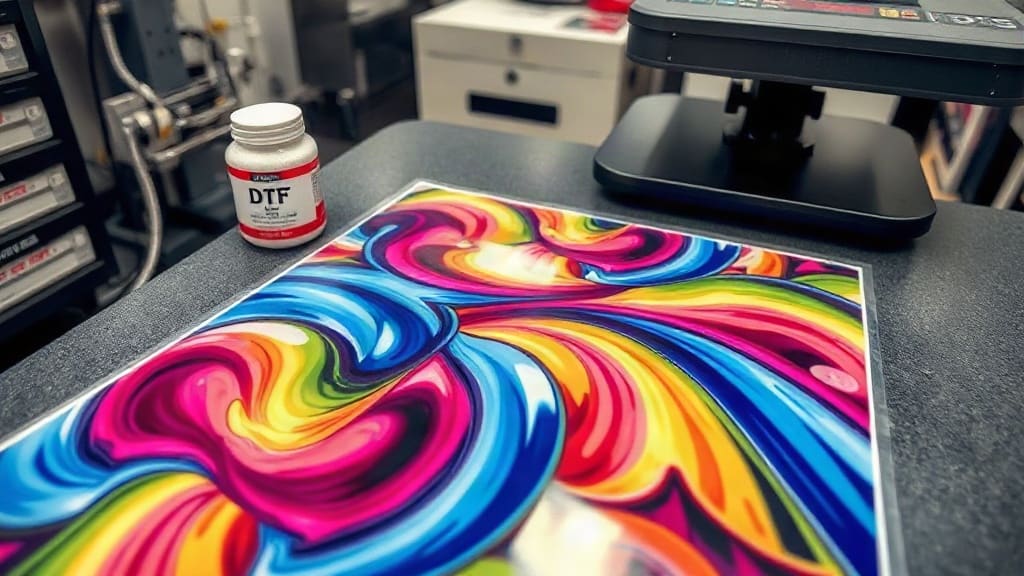
If you've been exploring custom apparel printing, you've likely come across DTF transfers as a rising star. Unlike traditional methods that may require expensive equipment or extensive setup, DTF printing offers a flexible and cost-effective way to produce vibrant designs on various fabrics. Whether you're a seasoned printer or a hobbyist looking to expand your offerings, understanding this technology can open new doors. In this guide, we'll demystify the process, dive into the benefits, and share practical tips to help you get the most out of DTF.
What Are DTF Transfers?
DTF, or Direct to Film, printing is a method where a design is printed onto a special film using a printer with white ink capability. The printed film is then coated with an adhesive powder, which is melted to create a tacky surface. When heat and pressure are applied, the design transfers from the film onto the fabric. This process is known for its versatility, allowing printing on cotton, polyester, blends, and even leather or nylon.
The key difference from other methods like screen printing or heat transfer vinyl is the way the design is applied. DTF transfers are often called "print-then-cut" because the printer produces the entire design, including white underbase, on the film. After cutting out the design, you can apply it with a heat press. This makes it ideal for small batches, one-off custom orders, or full-color designs that are difficult to achieve with traditional methods.
Why Choose DTF Transfers?
DTF transfers have gained popularity for good reasons. First, they offer exceptional color vibrancy and detail because the printer lays down an ink layer that is transferred as a whole. Unlike vinyl where you may need to layer colors, DTF can print gradients and complex artwork with ease. Second, the film is pre-treated, so you don't need to pre-treat the garment, saving time and effort.
Another advantage is the ability to print on dark and light fabrics alike, thanks to the white ink layer that acts as a base. The transfers are also durable, withstanding multiple washes when applied correctly. For businesses, DTF reduces inventory costs because you can print on demand, avoiding pre-printed stock that might not sell.
The DTF Printing Process Explained
To fully understand what you're getting into, let's break down the DTF process step by step. It's essential to have the right equipment and materials to ensure quality results.
Step 1: Printing the Design
The first step is creating your design using graphic software. You'll then print it onto a special DTF film using a printer equipped with white ink and DTF inks. The printer lays down colors first, followed by the white underbase. This ensures that the design appears vivid even on dark fabrics.
Many people use modified Epson printers, but there are also dedicated DTF printers available. The film must be printed using the correct color profile to achieve accurate colors. It's advisable to test prints on different fabrics to see how they absorb the ink.
Step 2: Applying the Adhesive Powder
After printing, the film is covered with a hot-melt adhesive powder. You'll shake off the excess and apply heat to melt the powder onto the ink. This can be done using a small oven or a heat press with a Teflon sheet. The powder creates a sticky layer that will bond with the fabric during transfer.
It's crucial to use quality powder and apply an even layer to avoid areas that don't stick. Overheating can cause the powder to become too tacky, leading to issues during transfer. A consistent temperature, typically around 180°C (356°F), works well.
Step 3: Cutting and Weeding
Once the powder is set, you need to cut out the design. If you have a cutting plotter, you can contour cut around the design easily. If not, you can use scissors, but this is time-consuming for intricate designs. Weeding (removing excess film) is not necessary with DTF because the design is printed as a whole, but cutting is still required to separate the transfer from the film roll.
Step 4: Transferring to Fabric
With the transfer ready, you'll place it on the garment with the adhesive side down. Use a heat press with medium pressure and a temperature of around 160°C to 180°C (320°F to 356°F) for 10 to 15 seconds. After pressing, peel the film hot or cold, depending on the manufacturer's instructions. Usually, hot peeling is recommended for better adhesion.
Essential Equipment for DTF Printing
To start with DTF transfers, you'll need some essential equipment. While it's possible to outsource printing, having your own setup gives you control and can be more cost-effective in the long run.
- DTF Printer: Look for a printer that supports white ink and has a robust ink system. Many use Epson XP series as a base for conversion, but there are ready-to-use models.
- DTF Film: You'll need PET film specifically designed for DTF. It comes in different widths, usually A4 or larger.
- Adhesive Powder: This is a thermoplastic powder that melts under heat. Choose a fine powder for detailed designs.
- Heat Press: A clamshell or swing-away heat press is necessary for transferring. A flat press is essential for even pressure.
- Shaker or Powder Applicator: You can use a shaker box or a simple tray to apply powder evenly.
- Curing Oven or Heat Gun: To melt the powder, you can use a small convection oven or a heat press with a Teflon sheet.
- Cutting Plotter (optional but recommended): For precise cutting, a vinyl cutter like a Silhouette or Cricut can be used.
DTF Transfers vs. Other Methods
Comparing DTF with other popular methods helps you decide which is best for your needs. Let's look at how DTF stacks up against screen printing and heat transfer vinyl.
DTF vs. Screen Printing
Screen printing is ideal for large orders due to its low per-unit cost, but the setup is expensive and time-consuming. DTF, on the other hand, has minimal setup and is perfect for short runs. For full-color designs, DTF can be more cost-effective for small quantities, while screen printing wins for hundreds of identical shirts.
In terms of durability, both methods produce long-lasting results, but DTF transfers may crack if not applied correctly. However, DTF offers a softer hand feel compared to screen printing's thicker ink layer.
DTF vs. Heat Transfer Vinyl (HTV)
HTV requires weeding each color separately and layering them, which is laborious for complex designs. DTF prints everything in one go, saving time and reducing errors. HTV is better for simple text or logos, while DTF excels at intricate, multicolored designs with gradients and photos.
DTF transfers also have a slight stretch that HTV lacks, making them more suitable for athletic wear.
Applications and Customization
One of the most exciting aspects of DTF transfers is the wide range of applications. You can create custom t-shirts, hoodies, tote bags, and even caps. The ability to print on various fabrics means you can offer personalized products for events, corporate gifts, or online stores.
For business owners, DTF allows you to test designs without committing to large inventory. You can print on demand and fulfill orders as they come. Plus, you can offer unique features like white text on dark garments or vibrant full-color photos.
Tips for Successful DTF Transfers
To ensure your DTF transfers look professional and last long, follow these tips:
- Use high-quality films and powders. Cheap materials can lead to peeling or cracking.
- Calibrate your printer regularly to maintain color accuracy.
- Experiment with different press temperatures and times to find the sweet spot for your fabric.
- Always test on a scrap piece of fabric before applying to a final product.
- Store your printed transfers in a cool, dry place until you're ready to use them.
- For best results, use a Teflon sheet or parchment paper between the heat press and the transfer to prevent sticking.
Starting a DTF Business
If you're considering DTF as a business venture, there are several factors to consider. First, you'll need a reliable supplier for films, inks, and powders. Research customer reviews to ensure consistency.
You'll also need to price your products competitively. Calculate the cost of materials per transfer, plus overhead like electricity and equipment depreciation. Since DTF transfers can be produced in small batches, you can charge a premium for custom orders.
Marketing your DTF services can involve showcasing samples on social media, offering local pickup, or partnering with other businesses. Emphasize the durability and vibrant colors of your prints, and provide excellent customer service to build a loyal following.
Frequently Asked Questions (FAQ)
Can DTF transfers be used on any fabric?
DTF transfers are highly versatile and can be applied to cotton, polyester, cotton-poly blends, and many synthetic fabrics. They also work on leather, nylon, and even some materials like canvas. However, for fabrics with a very low melting point, such as certain performance synthetics, you need to adjust the temperature and pressure to avoid damage. Always test on a small area first to ensure the transfer adheres well and the fabric can withstand the heat.
How many washes do DTF transfers last?
When applied correctly, DTF transfers are durable and can withstand dozens of washes. The key is proper curing and pressing. Using quality materials and following the recommended temperature and time will ensure the design remains intact. To extend the life, wash the garment inside out in cold water and avoid using bleach or fabric softeners. Tumble drying on low is safe, but high heat can degrade the transfer over time.
What is the difference between DTF and sublimation printing?
Sublimation printing uses heat to turn ink into gas, which bonds with polyester fibers. It works only on synthetic fabrics and requires a light-colored base because the ink is transparent. DTF, on the other hand, uses a white underbase, so it works on both dark and light fabrics, including cotton. This makes DTF more versatile for everyday apparel.
Do I need a special printer for DTF?
Yes, you need a printer that can handle white ink and DTF inks. Many standard inkjet printers are not designed for white ink, which is more viscous and can clog. There are dedicated DTF printers available, or you can convert certain Epson models with a bulk ink system. If you're starting, consider using a professional DTF service to avoid the initial investment, but as you grow, investing in your own printer can be more economical.
In conclusion, DTF transfers offer a flexible and accessible way to create high-quality custom apparel. Whether you're a hobbyist or an entrepreneur, understanding the process and potential pitfalls will help you produce professional results. With the right equipment and a bit of practice, you can unlock endless creative possibilities.