
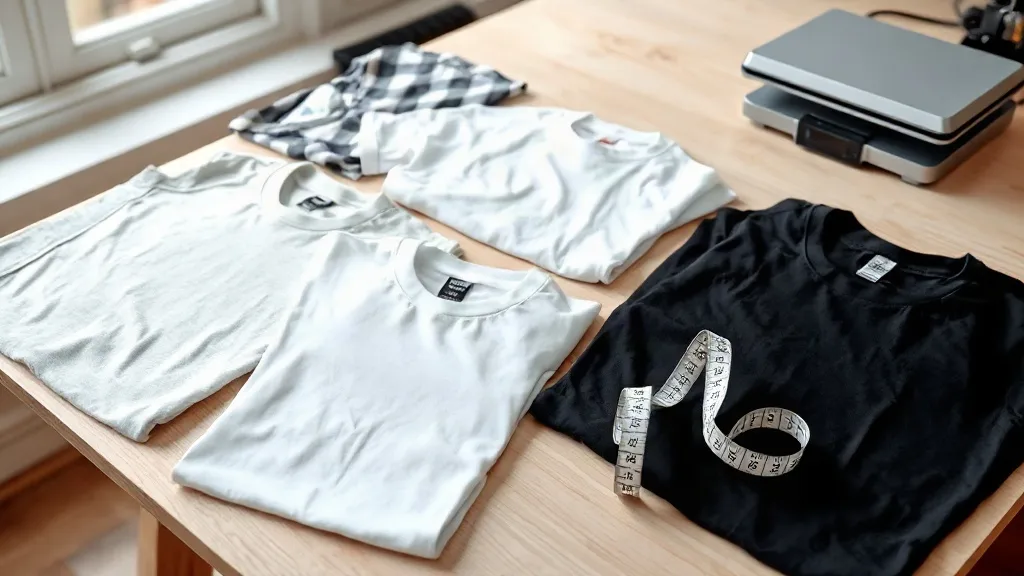
You have probably seen a shirt where the print felt off but you could not say why. Nine times out of ten, the design was the right design. The size or placement was wrong. Sizing dtf transfers for each garment zone is one of those quiet skills that separates a shirt that looks store-bought from one that looks like a weekend craft project. This guide walks through the zones that matter most, with practical numbers and the reasoning behind them, so you can stop guessing and start placing prints with confidence.
Why Zone Sizing Matters More Than You Think
A print is not just ink on fabric. It is a visual element that interacts with the body wearing it. A chest print that sits too high can look like a name tag. A back print that is too small can look like an afterthought. A sleeve print that wraps too far around the arm can distort when the arm bends. These are not abstract design concerns. They are the difference between a customer wearing the shirt once and wearing it weekly.
When you size dtf transfers by zone, you are matching the print to the anatomy of the garment and the person inside it. That is why a single universal size never works. A 12-inch wide print that looks great on a back looks absurd on a chest. A 3-inch logo that works on a pocket looks lost on a sleeve. Zone-based sizing gives you a repeatable system instead of a pile of one-off decisions.
The Chest Zone: Where Most Prints Live
The left chest is the most common placement for logos, small graphics, and brand marks. The standard size range here is 3 to 4 inches wide for a logo, and 4 to 5 inches for a small graphic. Anything wider than 5 inches starts to feel like a full front print, which is a different look entirely.
Placement matters as much as size. The top of the print should sit roughly 3 to 4 inches below the collarbone, and the center of the print should align with the wearer's left chest, about 3 to 4 inches from the center line of the shirt. On a standard adult tee, that puts the print between the placket and the armpit seam. On a women's cut, the print often sits slightly higher and closer to the center because the garment is cut differently. Always measure on the actual blank you are printing, not on a generic size chart.
Full Front Prints
A full front print is the statement piece. The typical width is 10 to 12 inches, with 11 inches being a safe middle ground for most adult sizes. The top of the print should sit about 3 inches below the collar seam, and the print should be centered horizontally. If the design has a lot of vertical height, check that it does not extend below the bottom of the ribcage, or it will start to feel like a dress panel rather than a chest print.
One common mistake is scaling a full front print for a youth size using the same proportions as an adult. A youth medium chest is much narrower, and an 11-inch print will wrap around the sides. For youth sizes, drop to 7 to 8 inches wide and keep the top of the print about 2 inches below the collar.
The Back Zone: Room to Breathe
The back is where you can go big. A standard back print runs 12 to 14 inches wide, and on larger garments you can push to 15 inches. The top of the print should sit 3 to 4 inches below the collar seam, and the print should be centered. The bottom of the print should land somewhere between the shoulder blades and the mid-back, depending on the design's height.
Back prints are where dtf transfers near me searches often lead people to try a local shop, but the sizing principles are the same whether you print in-house or order out. The key is to avoid a print that is too small for the back panel. A 9-inch print on a back looks like a chest print that got lost. If you are unsure, measure the back panel width at the widest point and subtract 4 to 5 inches to leave a comfortable margin on each side.
Yoke and Upper Back Prints
Some designs work better as a small upper back print, often called a yoke print. These typically run 4 to 6 inches wide and sit 2 to 3 inches below the collar seam. This placement is popular for brand marks, event logos, and small graphics that do not need to dominate the back. It is also a good option for garments where a full back print would compete with a front design.
Sleeve Prints: Small but Tricky
Sleeve prints are deceptively difficult because the sleeve is a curved, moving surface. A print that looks fine when the arm is straight can distort when the arm bends. The standard size for a sleeve print is 2 to 3 inches wide, placed on the outer face of the sleeve, centered between the shoulder seam and the hem.
The critical measurement is the distance from the sleeve seam. On a standard tee, the print should sit about 1 to 1.5 inches below the shoulder seam and be centered on the outer curve of the sleeve. If the print wraps too far toward the front or back, it will partially disappear when the arm moves. For long sleeves, the print typically sits 2 to 3 inches below the shoulder seam, and you should check that it does not cross the elbow bend.
Sleeve Prints on Raglan and Drop-Shoulder Cuts
Raglan and drop-shoulder garments have different seam lines, and the sleeve print placement needs to follow the actual sleeve, not the body. On a raglan, the sleeve seam runs diagonally from the collar to the underarm, so the print should be centered on the outer face of the sleeve, measured from that diagonal seam. On drop-shoulder cuts, the shoulder seam sits lower on the arm, so the print often sits slightly lower as well. Always test on a blank before committing to a production run.
Pocket and Left Chest: The Small Print Zone
Pocket prints are typically 2.5 to 3.5 inches wide and sit centered on the pocket area, about 2 to 3 inches below the collarbone. If the garment has an actual pocket, the print should be centered on the pocket and sized to leave a small border of fabric around the design. If there is no pocket, the print still goes in the same location, aligned with the left chest.
This zone is where small logos and single-color marks work best. Detailed multi-color designs can lose legibility at this size, especially on textured fabrics. If the design has fine lines or small text, consider simplifying it for the pocket zone or moving it to the chest zone where it has more room.
Specialty Zones: Hats, Bags, and More
Dtf transfers are not limited to shirts. Hats, bags, and other accessories have their own sizing rules. For a standard baseball cap, the front panel print is typically 2 to 2.5 inches wide and centered on the front panel. For a tote bag, the print area is often 8 to 10 inches wide, centered on the bag's front face, with the top of the print about 2 inches below the top edge.
When printing on these items, remember that the surface is often curved or structured. A print that is too large will not press evenly, and the edges may lift. Smaller, well-placed prints tend to hold up better on structured items. Test the press settings on a scrap piece of the same material before committing to the final piece.
Building a Sizing Reference for Your Shop
The best way to get consistent results is to build your own sizing reference. Take a few common blanks in each size range, print a test design at different widths, and note what looks right. Keep a simple chart on the wall or in a shared document. Over time, you will develop a feel for what works, but the chart saves you from reinventing the wheel every time a new order comes in.
Include the garment type, size, zone, and recommended print width in your chart. Add notes about any quirks, like a particular brand that runs narrow or a fabric that stretches more than usual. This is the kind of practical knowledge that makes a shop reliable, and it is the kind of thing customers notice even if they cannot articulate it.
Frequently Asked Questions
What is the standard size for a DTF transfer on a chest?
For a left chest logo, 3 to 4 inches wide is standard. For a full front print, 10 to 12 inches wide is typical for adult sizes. Always measure on the actual garment, since cuts vary between brands.
How wide should a back print be on a DTF transfer?
A standard back print runs 12 to 14 inches wide, with 15 inches possible on larger garments. Leave 4 to 5 inches of margin on each side of the back panel to avoid wrapping.
Can I use the same DTF transfer size for youth and adult shirts?
No. Youth garments need smaller prints. A youth medium chest print is typically 7 to 8 inches wide for a full front, compared to 10 to 12 inches for an adult. Scaling down proportionally keeps the design looking intentional.
How do I size a DTF transfer for a sleeve?
Sleeve prints are usually 2 to 3 inches wide, centered on the outer face of the sleeve, about 1 to 1.5 inches below the shoulder seam. Check that the print does not cross the elbow bend on long sleeves.
Where can I find DTF transfers near me?
Many local print shops now offer DTF transfer services, and online suppliers ship nationwide. When searching for dtf transfers near me, check turnaround times, minimum order quantities, and whether they provide sizing guidance for different garment zones.